
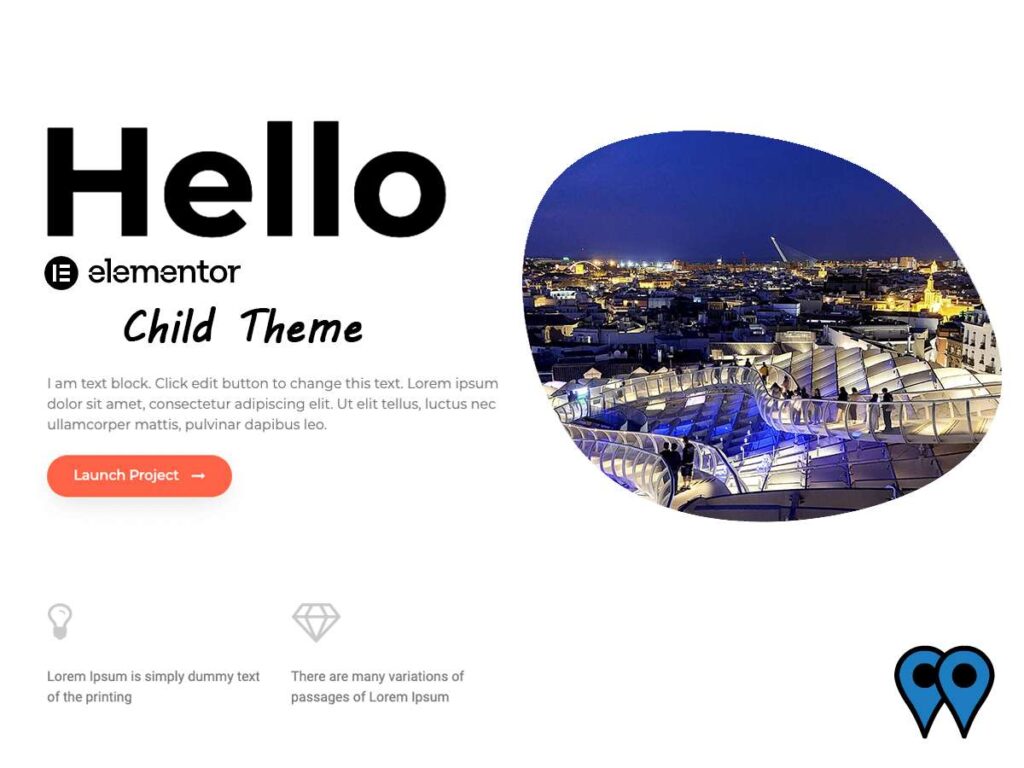
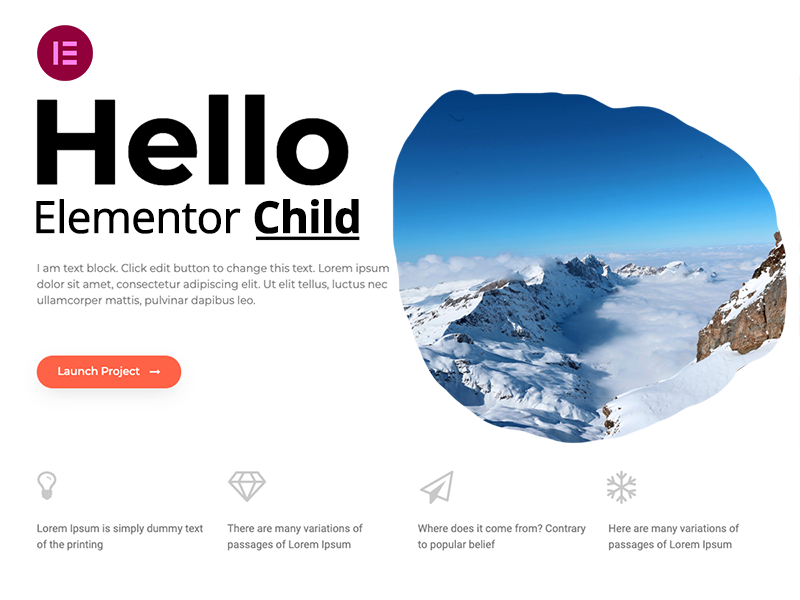
Do you need a Hello Elementor child theme?
If you’re using Hello Elementor, you should be using Elementor Pro. The theme by itself is extremely simple and lightweight allowing for complex settings and details to come from the Elementor plugin. However, Elementor Pro has limits to it’s customisation. And 3rd party plugins can come with a lot of unwanted functions and risk of slowdown and compatibility conflict either immediately or a few updates down the line. So if you have a few simple tasks you need to do without compromising your simple setup, it’s time to get a child theme.
What are some example reasons for getting a child theme?
You can get plugins to do all the following, but these plugins come with admin popups, requests to review or update, upgrade and often do more than you need them to. A few simple and safe lines of php can make the site faster and more stable. I use the child theme for:
- Adding Google Analytics verification
- Allowing upload of .svg and .pdf filetypes to wordpress
- Making custom queries for filtering and sorting posts
- Putting your logo in the wordpress wp-login screen
- Creating custom wordpress user types
How does a child theme work?
A child theme is basically a way of telling WordPress you want to use a theme (e.g. Hello Elementor) but have customisations to the theme persist when it updates. (You should always keep Hello Elementor updated with Elementor). You make customisations in the child theme, and the parent theme remains untouched and pure.
What are the steps making your hello elementor child theme?
Firstly, Elementor have a great how-to guide with lots of options. But if you’re like me, you just want to get to the fastest and simplest way with the least long term maintenance, this is it:
1. Access your file Explorer, or get ftp access to your wordpress installation and go to “wp-content\themes”
Here you will see “hello-elementor” and perhaps any other you have previously installed and not removed.
2. Create a new folder and name it “hello-elementor-child”
3. In the folder create the following files:
functions.php
With the minimum contents below to pick up your child css file:
<?php

//* Enqueue style.css from child theme
function hello_elementor_child_enqueue_scripts() {
wp_enqueue_style(
'hello-elementor-child-style',
get_stylesheet_directory_uri() . '/style.css',
[
'hello-elementor-theme-style',
],
'1.0.0'
);
}
add_action( 'wp_enqueue_scripts', 'hello_elementor_child_enqueue_scripts', 20 );
style.css
With the following contents:
/*!
Theme Name: Hello Elementor Child
Theme URI: https://elementor.com/hello-theme/?utm_source=wp-themes&utm_campaign=theme-uri&utm_medium=wp-dash
Description: A plain-vanilla & lightweight theme for Elementor page builder
Author: Elementor Team
Author URI: https://elementor.com/?utm_source=wp-themes&utm_campaign=author-uri&utm_medium=wp-dash
Template: hello-elementor
Version: 1.0.0
License: GNU General Public License v3 or later.
License URI: https://www.gnu.org/licenses/gpl-3.0.html
Text Domain: hello-elementor
*/
screenshot.png
Must be a png filetype, or your child theme will have a blank image in your WordPress dashboard. Won't affect the front end, but it's a nice touch. We recommend using the following:
4. Lastly, activate your child theme from your wordpress dashboard Appearance > Themes

And you are now ready to start customising!